Many folks think adding sprouts to your daily regimen means giving up your day job and investing in specific tools like jars, lids with holes, or pretty muslin cloth. It truly does not. You can do all that - but by now you know me and that I am a busy mom with 2 kids and a hubbie on the road from Monday - Thursday. If it's not easy - likely I am not doing it. So purchase the tools if you want. But, know that you truly do not need to. Just follow my steps below:
Step 1: Figure out what you want to sprout. Just about any whole legume will work for you. You want it to grow, so something split obviously won't. I love mung beans, black chickpeas, adzuki beans, pigeon peas, and fenugreek seeds (which are legumes because they grow in pods). Some sprout alfalfa and broccoli seeds. I have not tried that yet, but the process is likely similar. Avoid sprouting kidney beans, lima beans, black beans, and other beans in this category. They tend to give off anti-nutrients that are tough for the body to break down. Some folks have trouble as well with regular sprouted chickpeas, but try them and see how they work for you. I chose mung beans and black chickpeas (kala chana).
Step 2: Soak in ample room temperature water in a roomy bowl 6 hours to (ideally) overnight. The seeds often sprout at different times, so I like to keep them separate. Once you find seeds that have the same sprouting 'schedule', you can soak them together in one bowl. Just leave them on your counter overnight.
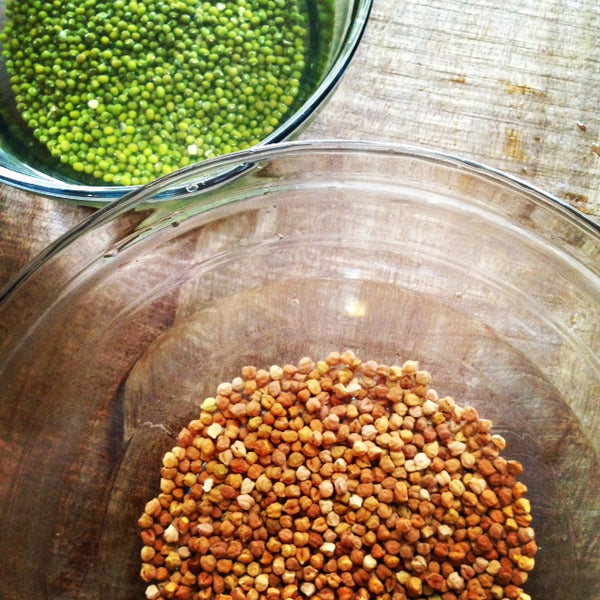
Step 3: Drain your legumes or seeds. This is key. You want to get rid of most of the water. If it pools at the bottom of your bowls then your product can get moldy. You want it to be just damp enough to start the growth process. Too wet, and it won't work. This is why many folks like to use jars with a lid on it that has a mesh cover so that you can drain more easily. I find it just as easy to pull out a strainer and drain away. Once drained, here's what they look like. Basically the same, just a little more plump. Mung beans are so, so easy. Look at them, some are already bursting through the skin. Hard to believe this is just Day 2, right? They are soft and you can eat them now, although some recommend sprouting at least 2-4 days to remove some of the anti-nutrients that can upset some folks' digestive system.

Step 4: The key at this point is to keep your product nourished with a little water, but not soaked. It needs a mist here and there to keep it going, but too much water and again it will mold up. Here they are on Day 3. I actually mixed them together at this point, as they are on a similar schedule now. The black chickpeas are breaking free now! Woo Hoo!


I keep a little spritzer filled with water handy. This way, I can spray them with a little water whenever they need it. (My kids LOVE taking charge of this part.) Note that dried out sprouts are not going to grow. So, I will rinse them in water liberally at some point to really get them nice and moist. After, though, you'll need to drain that water. Just use a strainer and you'll be good to go. And, note. No covering. No fancy dish towels. I sprouted these in our currently cold Chicago summer. We are around 50 degrees outside and rainy. So they truly don't need any specific temperature to grow, but you can put them in a darker space like an unused oven to get them truly going. You can also turn your oven to about 200 degrees - turn it off - wait 10 minutes - and put these bowls in there if you are in a particularly cold area.
Step 5: Keep doing what you are doing. This is Day 4. And, look how gorgeous they look. Continue to spritz.

Step 6: This is now Day 5. Sort your sprouts on a large, white plate. This is especially key for mung beans. Many of mine remain hard and don't soak. You can help alleviate this by maybe using warm water when soaking them in the first place. Maybe buy organic. Maybe purchase from a fresher source. I have tried just about everything. I don't like the idea of soaking them in boiling water, only because a fresh ingredient like this should not be heated. So I just pick out the harder ones at the end. My mother's mung beans never ever do this. But, sifting through them can't hurt. Enlist your kids.

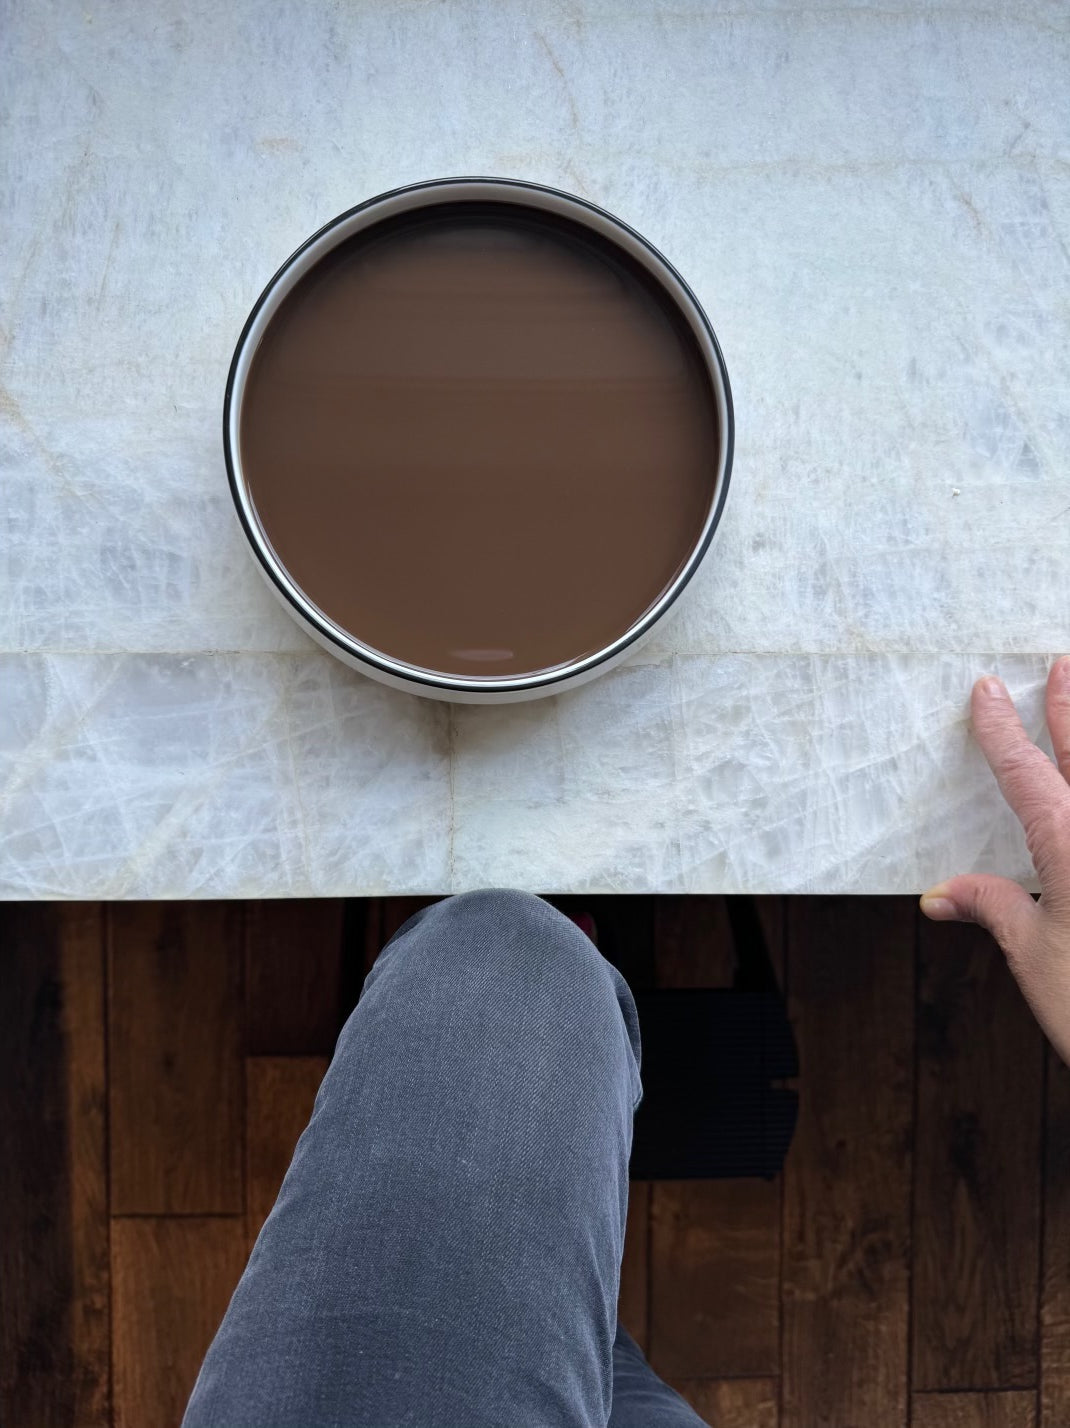
Step 7: Once you sift through them, store them. Preferably in a glass container in the fridge. This is still day 5. You really don't want them sitting out too, too much longer. Maybe one more day or so. They are ready to eat! And, will keep in the fridge about 1 week.

Step 8: Make them into a delicious salad and eat them up. Remember, they are growing so you don't want to heat sprouts. I typically heat the ingredients first and add them to the sprouts - so I don't risk cooking them.
Step 9: Try my easy salad recipe to eat these sprouts up. My kids and husband love this salad, believe it or not! Enjoy.

Easy Semi-Cooked Sprout Salad
My husband and I love this version of the sprout salad. The spices and onion are cooked, while the sprouts are still fresh. The kids, however, don't like the ginger and cooked onion as much. For them, I make version 2 below.
4 cups sprouts, set aside in a bowl
1 tablespoon vegetable oil
1 teaspoon cumin seeds
1/2 teaspoon turmeric powder
1 small yellow or red onion, minced
1-inch piece ginger, peeled and minced or grated
2 Thai, cayenne, or serrano chiles, sliced
1 lemon, juiced
1/4 teaspoon red chile powder or cayenne
1 teaspoon salt
1/4 teaspoon kala namak (black salt)
1/4 teaspoon amchur powder (dried mango powder), optional
1. Heat oil in a deep pan. Add cumin seeds and turmeric. Cook until the seeds sizzle.
2. Add onion - cook about a minute. Add ginger and fresh chile.
3. Transfer this to the sprouts in the bowl.
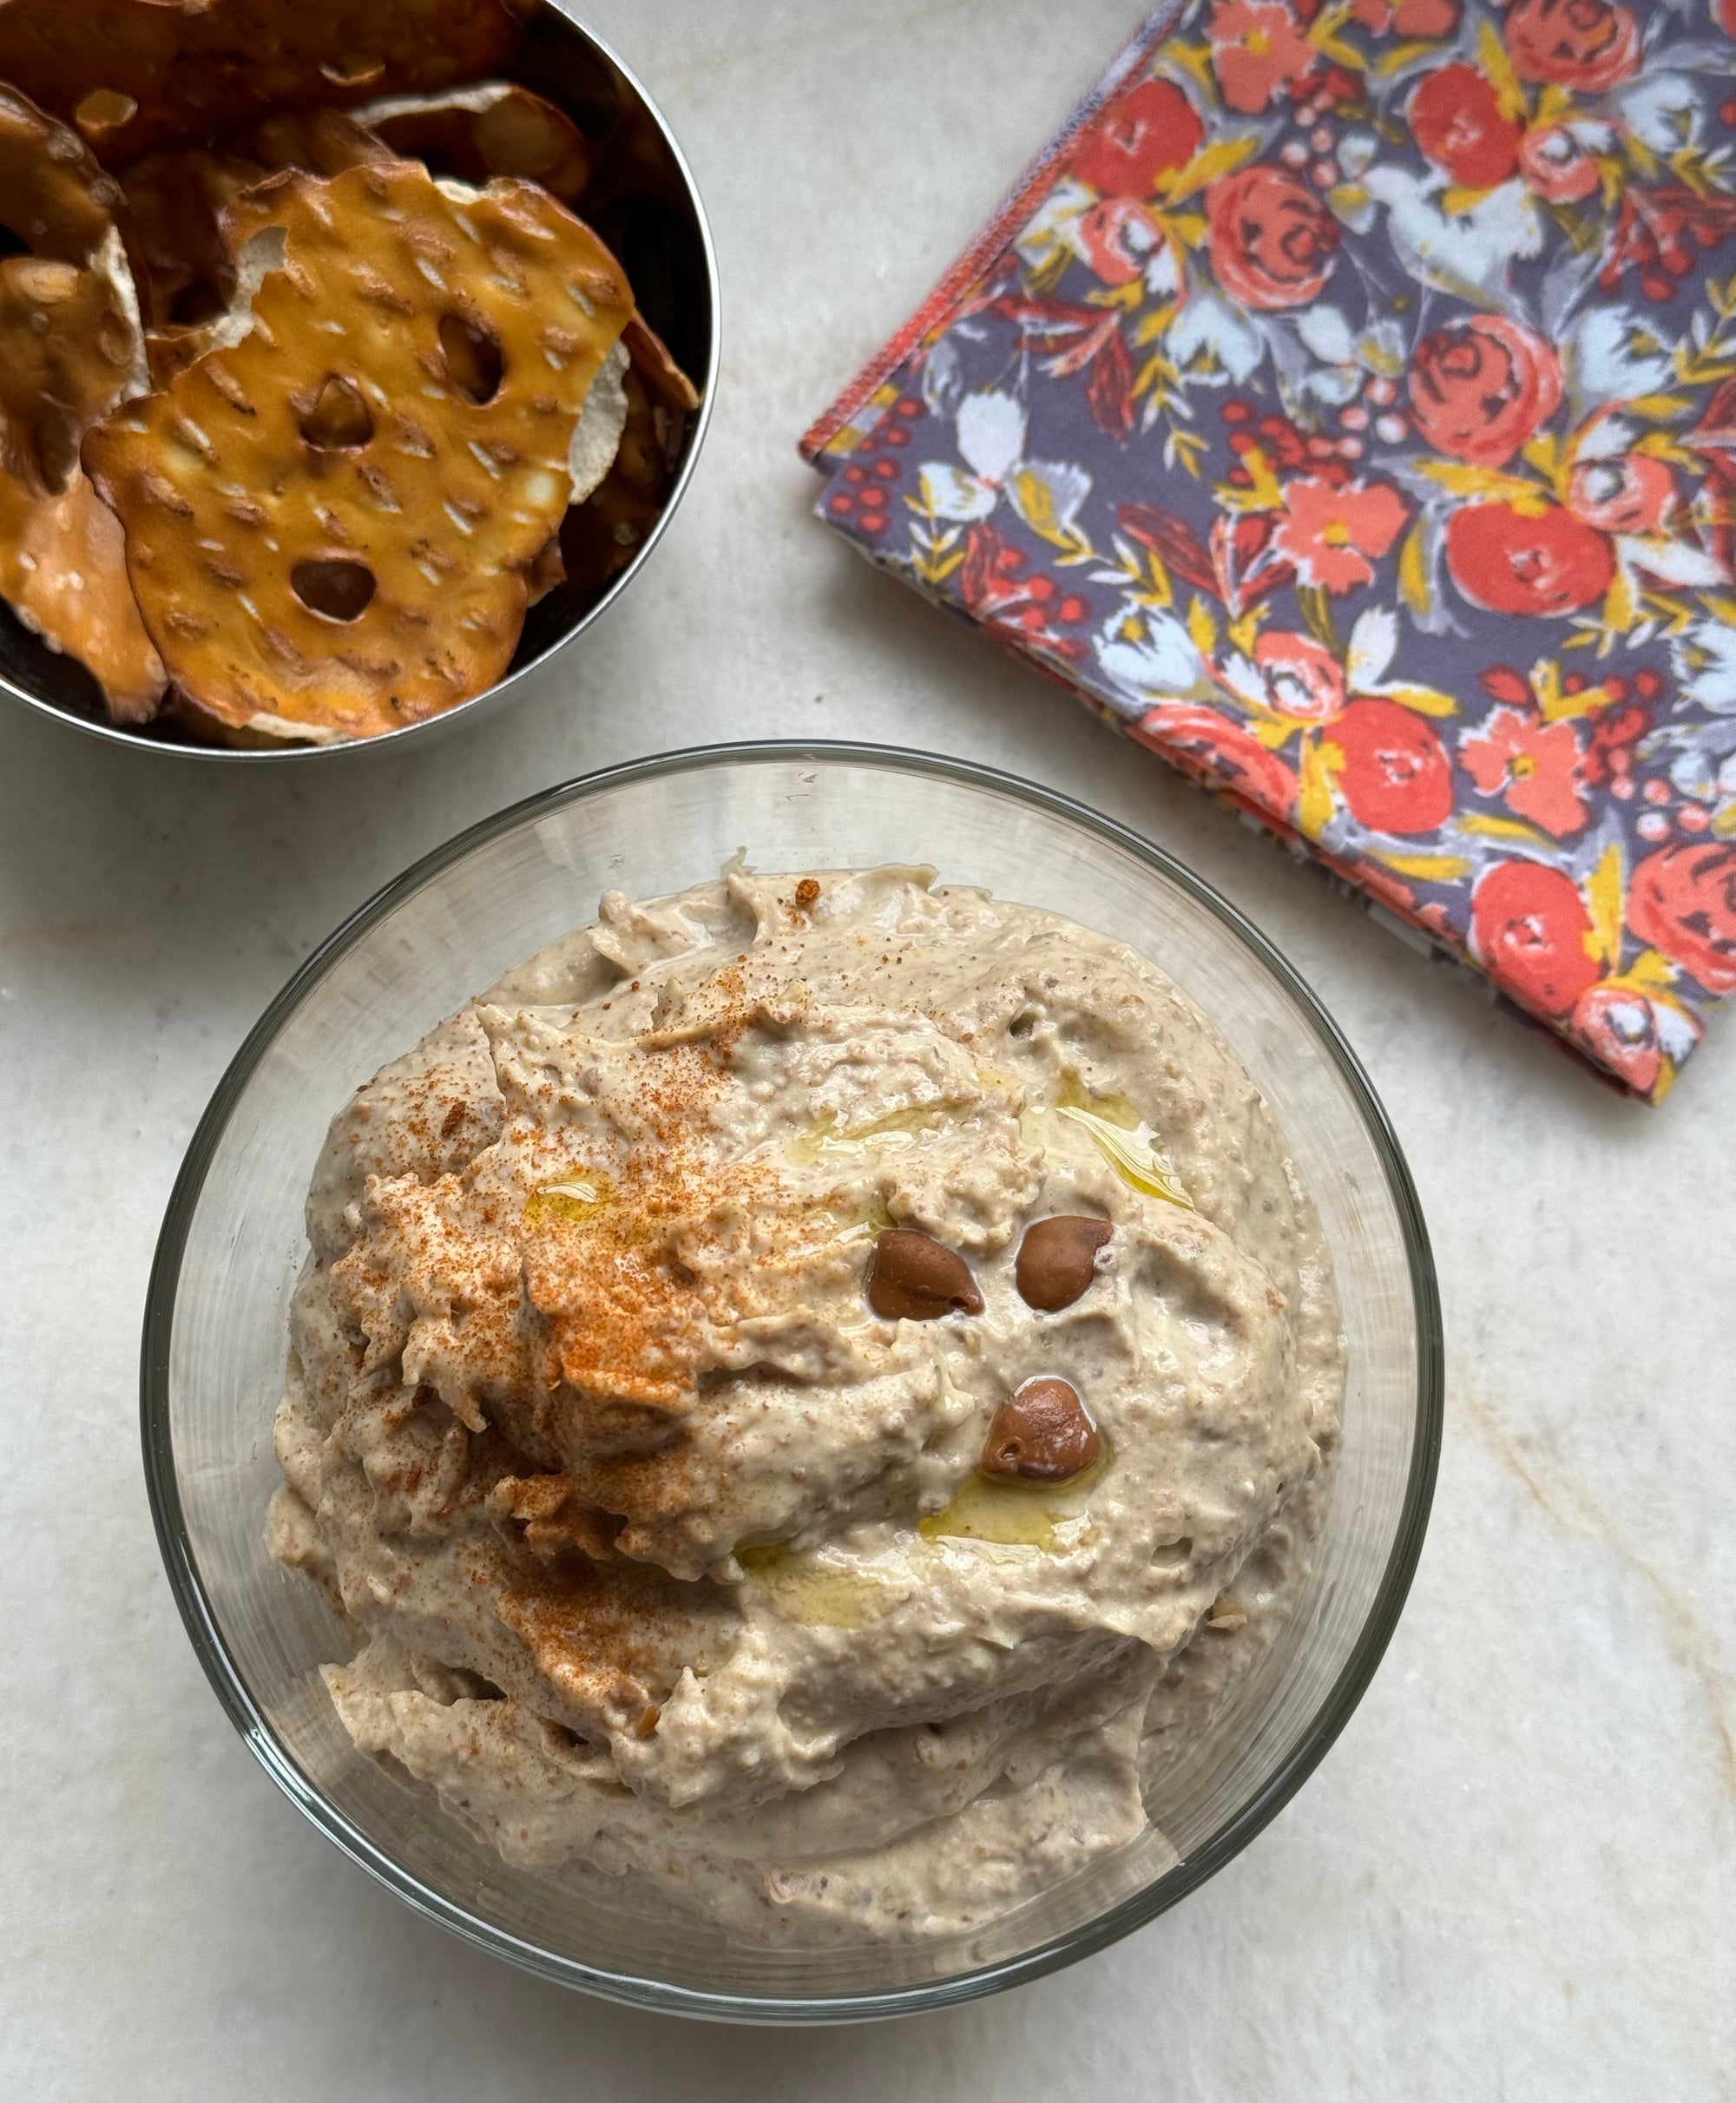
4. Add lemon juice, red chile, salt, kala namak, and amchur powder. Mix well. Serve immediately. I keep it in the fridge for a few days to eat in between meals to cut cravings. The beauty of this? Add whatever veggies you like.
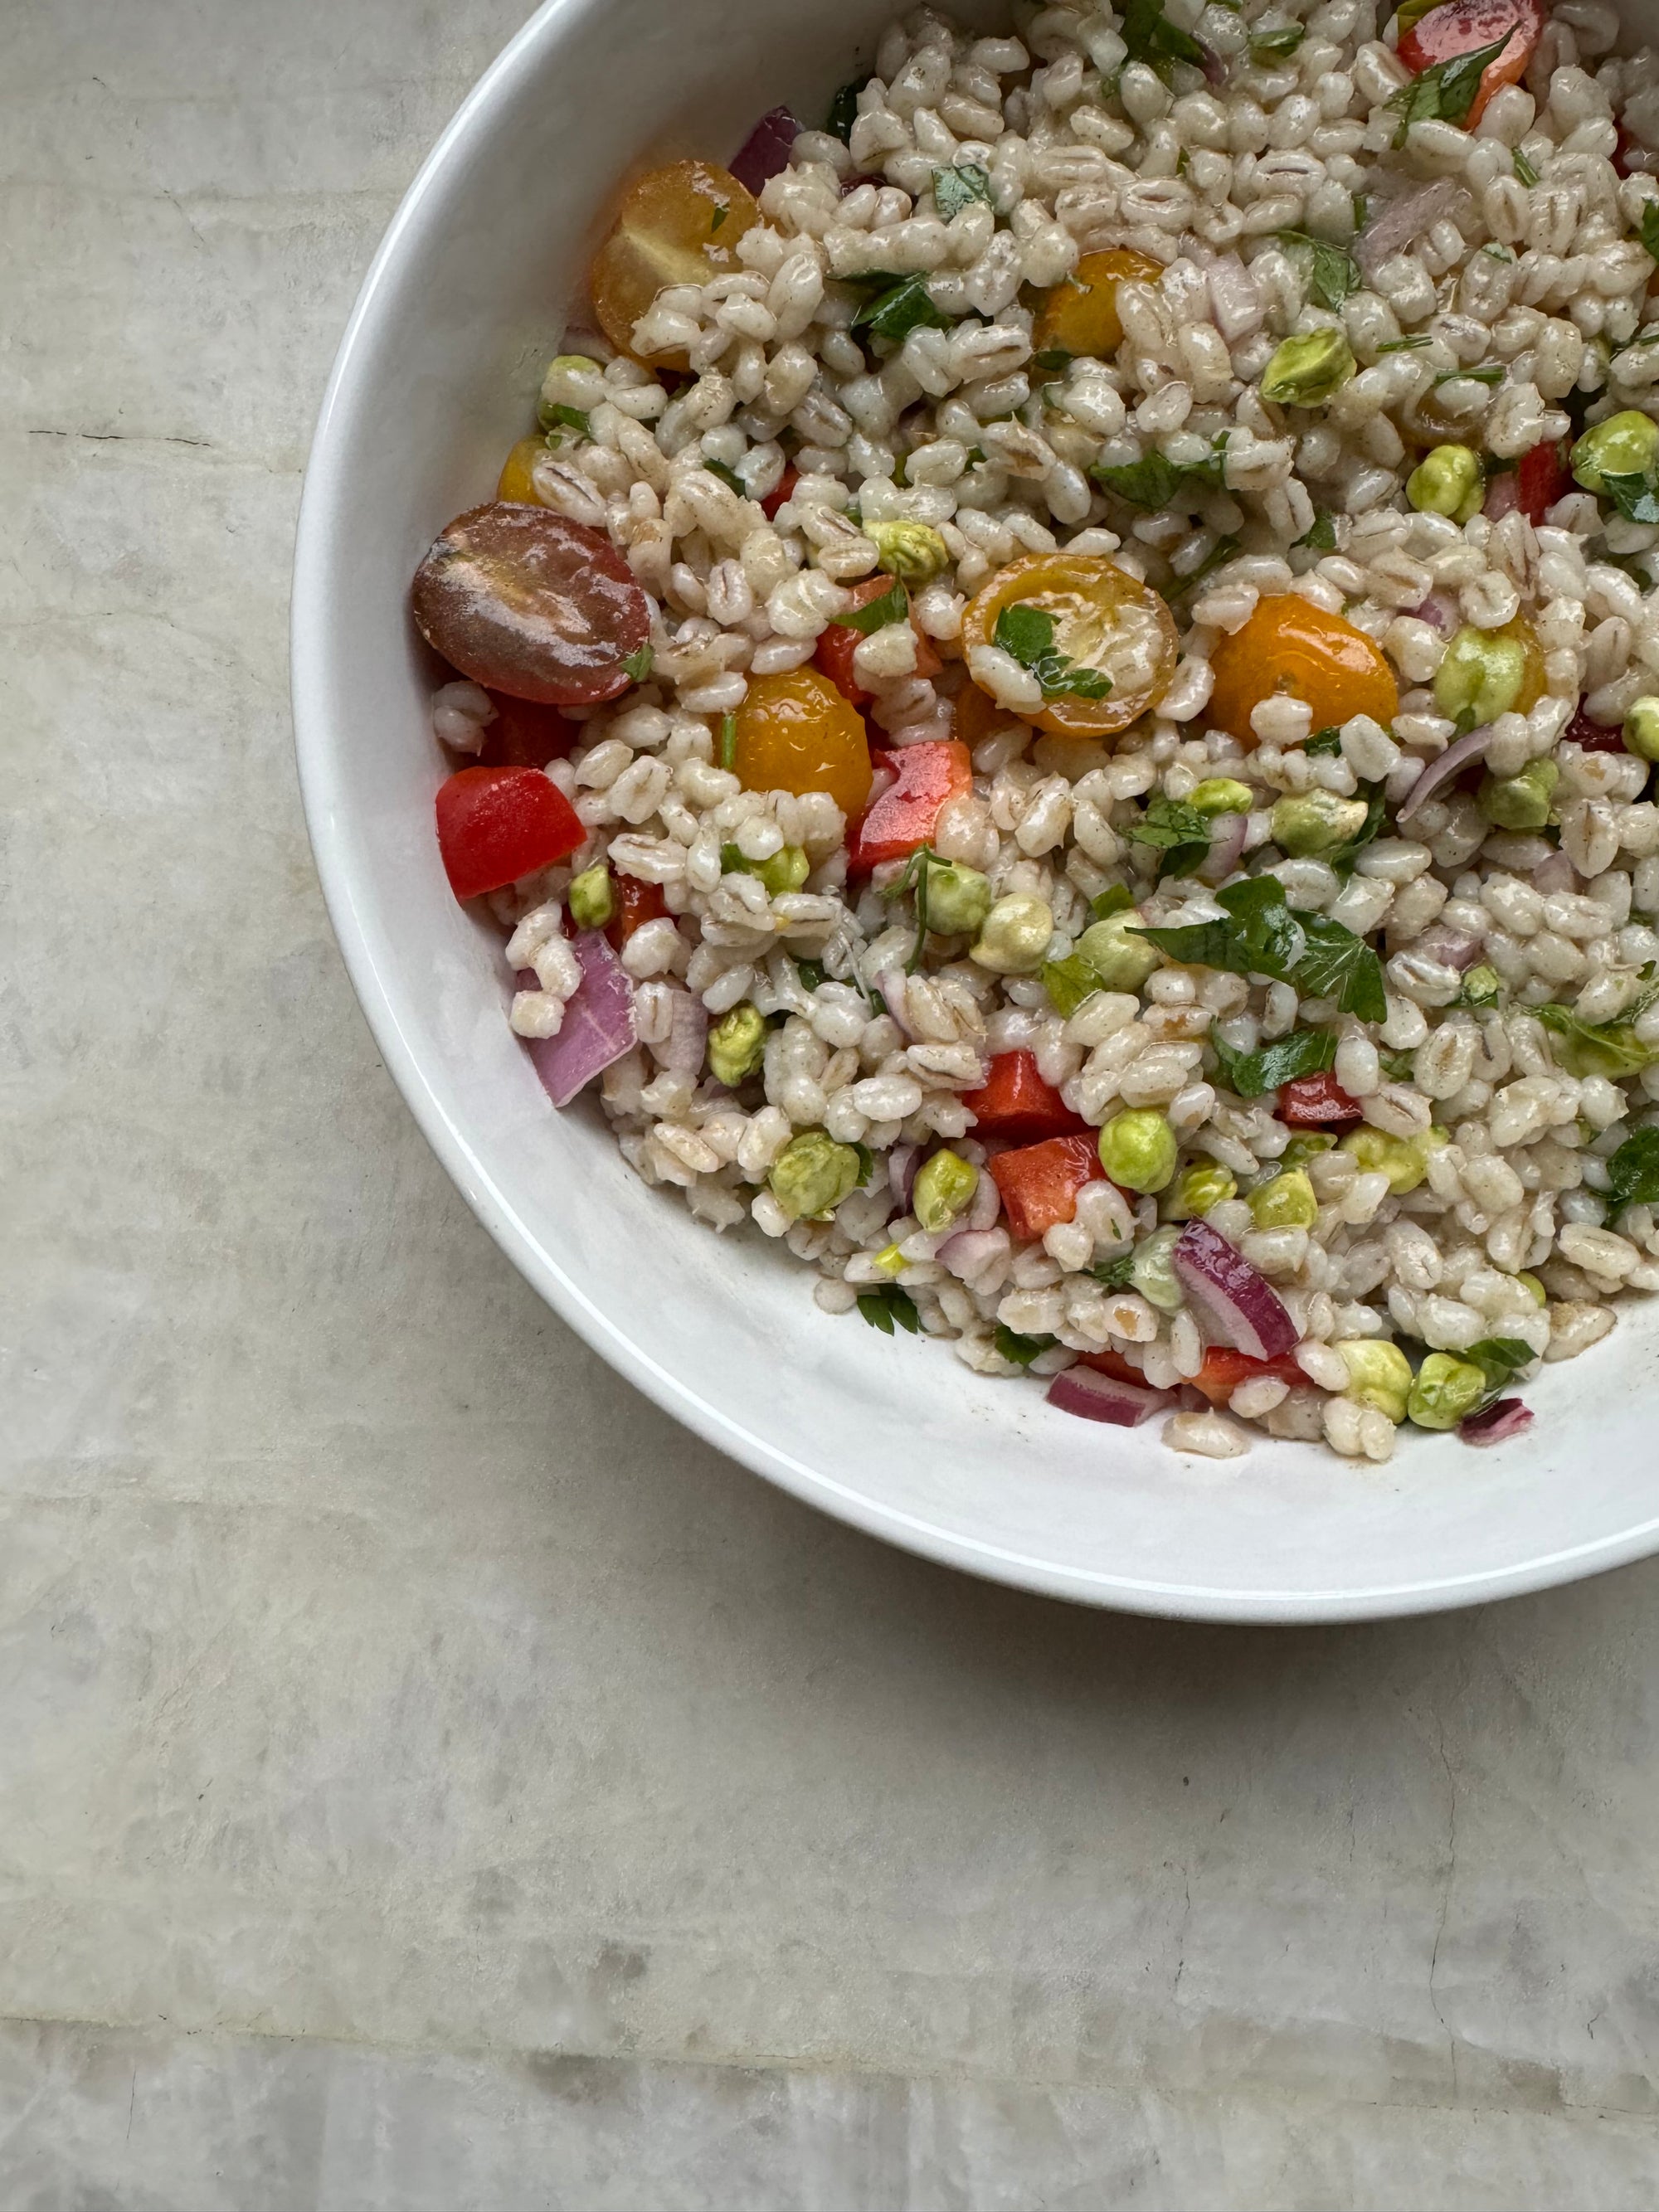
Fresh Sprout Salad
This version is so easy. It's all about fresh ingredients. Add whatever crunchy veggies your kids like from daikon (radish) to cucumber to whatever floats their boat.
4 cups sprouts, set aside in a bowl
1 small yellow or red onion, minced
1-2 lemons, juiced
1/2 teaspoon salt
1/2 teaspoon kala namak (black salt)
1/4 teaspoon turmeric powder
1/2 teaspoon red chile powder or cayenne (optional)
1 Thai chile, finely sliced (optional)
1 tablespoon minced fresh cilantro
Mix all ingredients together in a bowl and serve immediately.

Comments will be approved before showing up.


Blainemisee
December 29, 2021
2009 Aged Account 2009-2019
Visit
https://sellaccs.net
PM
Skype & Telegram : congmmo
ICQ : 652720497 Email : congmmogmail . com
Thanks